 |
 |
||||||||||||||||||||||||
| The construction project took approximately three months to complete. I worked most evenings and weekends on the project, buying most of what I needed as I went. I don't have a total of what it cost, though I remember that is twice what I had expected - just like every project I do - I don't know if that is poor planning or I end up doing more than I expect. We first started with the stairway. The original stairs were green (UGLY!) - this required no thought to replace and so we decided on a wood look to go with the main floor of the house. Since the stairway opened equally to both sides of the basement, it made a natural side wall to the theater as well as the theater entrance. Also, all of the original latice work was removed that ran down the stairs. |
|||||||||||||||||||||||||
 |
|||||||||||||||||||||||||
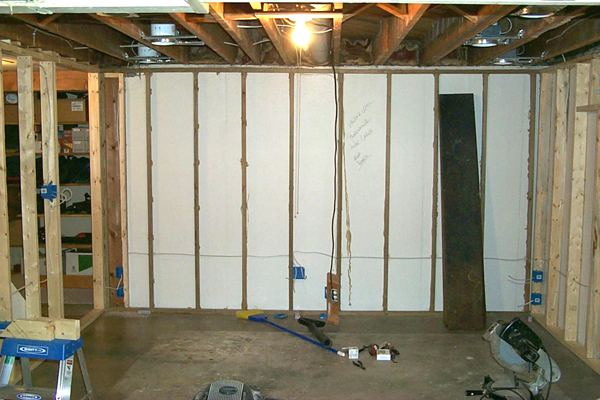
| Before to much work was done, I had to remove the existing walls and paneling, shown above. The basement was definitely still 1960's, and luckily there wasn't a lot of work done on it which helped speed up the removal process. The front door entrance along the screen wall can be seen here during early construction. |
|||||||||||||||||||||||||
 |
|||||||||||||||||||||||||
| Shown to the left is the mess under the stairway. We were able use one existing wall for this project (shown pre-drywall) - notice all of the outlets for speakers and video runs. | |||||||||||||||||||||||||
 |
|||||||||||||||||||||||||
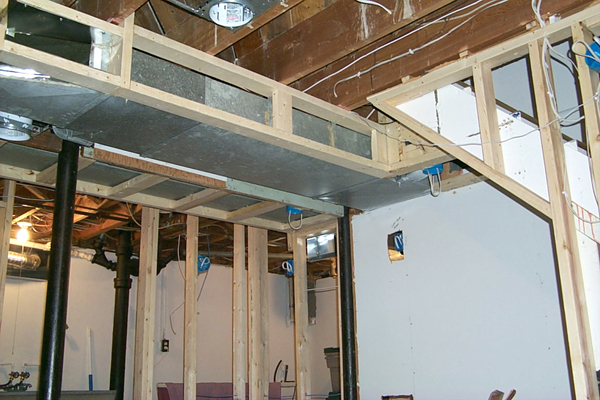
| To the right is the box work surrounding the existing duct-work for the heating/cooling system. Using the lowest point from all duct work, I was able to box in and enclose everything, which required dropping the ceiling in the rear 1/3 of the theater by about 10". |
|||||||||||||||||||||||||
 |
|||||||||||||||||||||||||
| The front wall of the theater has outlets at each speaker for both electrical power and speaker power. In addition, extra RG-6 runs were made to the center box for extra sub woofers or a video run (if ever needed). |
|||||||||||||||||||||||||
